Command Bar
The File Browser's Command Bar contains many useful functions for navigating and managing files in your Rapid site's Sharepoint.
![]()
If the screen width or browser window are too small, the Command Bar may hide certain menu items. To reveal the hidden menu items, select the ellipsis (...) icon in the Command Bar. The hidden menu items will appear in a drop-down menu.

Each of these menu items and their functions are explained below.
Create a New Folder
To keep files organised, you may wish to add additional folders to the current file directory. This way, new files that are uploaded can be added to these folders, just as though you were using your operating system's file browser.
To add a new folder:
- Press the + New button.
![]()
- Select Folder.

- A new folder item will appear inside the File Browser display area, alongside any other folders or items that may be saved in this directory.

-
Delete the New Folder text by pressing Backspace ⌫ on your keyboard (Windows & Linux) or Delete ⌫ (Mac).
-
Type the desired name for your folder instead.
-
Press Enter ↵ or Return ↵ on your keyboard. Alternatively, you can click elsewhere on the page, and the text field where you were typing will disappear. The folder name you typed into the field will be saved automatically.
When creating a folder, Sharepoint will prevent you from using an "illegal" name. For example, certain symbols and characters are not allowed in a folder name. If a folder contains a / for example, the File Browser will issue a warning in red, and will not allow the folder to be created.

Upload Files via the Command Bar
- Click the Upload files button in the Command Bar.

When an item is selected, this button will be "pushed" to a position further along the Command Bar.
- Select the intended file to upload and click Open in the pop-out window from your operating system's file browser.
- The file will now upload.
Renaming Files and Folders
You may need to rename a file, folder, or multiple files and folders in your Sharepoint. The File Browser allows you to do this without leaving your Rapid site.
-
Select the file(s) or folder(s) you wish to rename
-
Press the Rename button that appears in the Command Bar
![]()
-
Any files or folders selected will now have a field appear in their name column. Microsoft files will have a field name, followed by a filetype tag, indicating the type of document it is.
-
Click on the field that you wish to edit. This field will behave the same as typing into a Single Line Text field in any Rapid form.

-
Delete the old file or folder name by pressing Backspace ⌫ on your keyboard (Windows & Linux) or Delete ⌫ (Mac).
-
Type the desired name for your folder instead.
-
Press Enter ↵ or Return ↵ on your keyboard. Alternatively, you can click elsewhere on the page, and the text fields where you were typing will disappear. The file names you typed into the fields will be saved automatically.
When naming a file or folder, Sharepoint will prevent you from using an "illegal" name. For example, certain symbols and characters are not allowed in a file name. If a file or folder contains a / for example, the File Browser will issue a warning in red, and will not allow the file or folder to be renamed.

Emailing Files
The Files Browser allows you to send files via email, and to also compose the email before sending it.
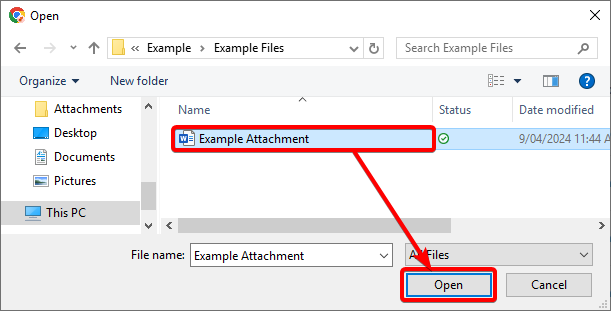
- Select the file(s) that you wish to E-mail
Selecting a folder in the File Browser and then pressing the E-mail Files button, will merely cause an empty email to be generated. This occurs whether the folder contains other files, or if it is empty.
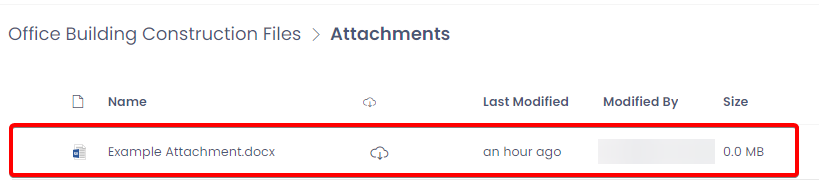
- Click E-mail Files button in the Command Bar
![]()
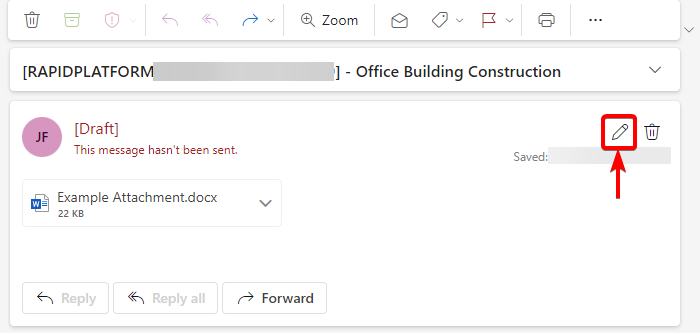
-
The Microsoft 365 email app will open, allowing you to send an email with the file(s) attached.
-
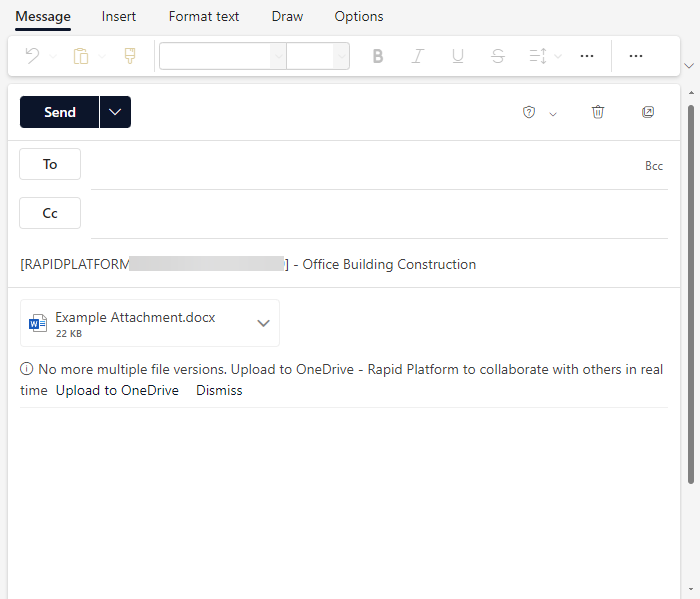
Press the Edit Email button to edit the draft email that has been generated. It has an icon of a pencil.
- You can now compose your email, choose it recipient, and then send it.
Deleting Files
Deleting files using the Files Browser component will delete them from Sharepoint as well. To delete a file or files:
-
Select the file(s) you wish to delete
-
Press the Delete button in the Command Bar
![]()
Creating A Task with Attachments
Sometimes you may wish to create a new Task that is connected to a file in your Sharepoint directory. The File Browser includes a button so that, once a file or files are selected, a task can be generated with the selected file(s) attached to it.
-
Select the file(s) you wish to link to a new Task
-
In the Command Bar, press the Create Task with attachments button
![]()
- The "New Task" Create Screen will open on the right side of the site
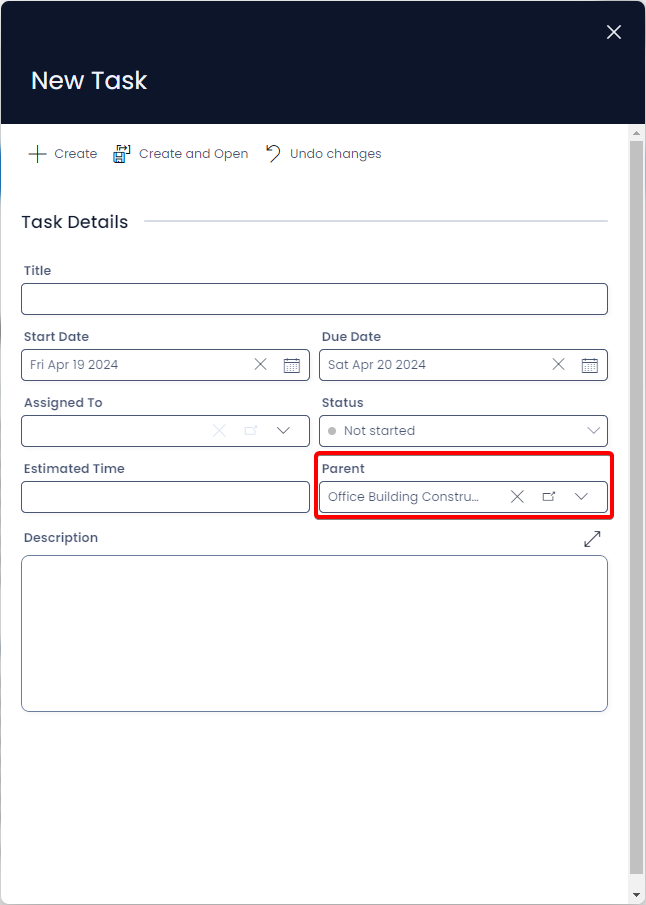
Creating a Task this way will cause Rapid to fill the Parent field with a lookup link to the current item where the files are located. In this example, the files that are being used to generate a task are located inside a project item titled "Office Building Construction". Once the new Task is created, it will also link back to this item.
-
Fill out the Task information and details as desired
-
Press + Create at the top of the Create Screen
-
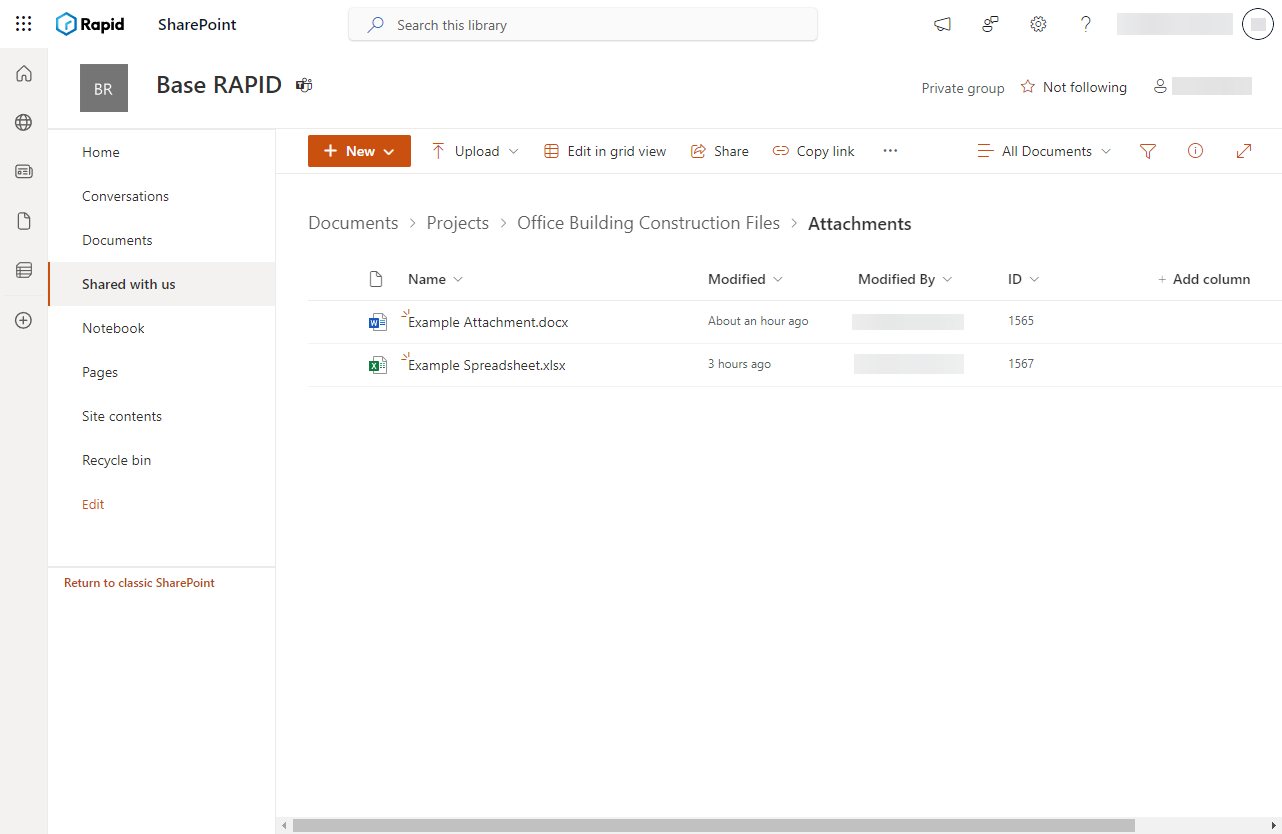
The task will now be generated, and the selected files will appear as Attachments in the Files tab of the Task item, or in the Attachments component of the item.
If the files do not appear on a Task, this might be because your System Administrator has not added a page component to the Tasks page for viewing files. To view the files, you can use the Parent field to navigate back to the item where the files are stored.
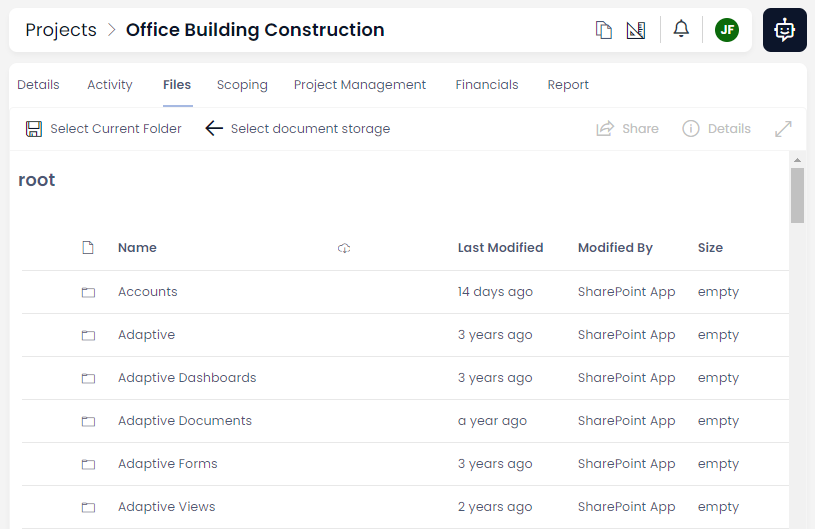
Opening Files
Downloading Files
Files can be opened by downloading the files and then opening them with your operating system or browser. This can be achieved using the in-line download button on a file that appears in the Files Browser component.
![]()
Opening Files in Sharepoint
You can also open the Sharepoint folder that stores an item's files. This is useful if you wish to move files to a different location in your Sharepoint directory.
- Press the Open in Sharepoint button on the Command Bar. Its icon is the Microsoft Sharepoint logo (several spheres with an S emblazoned over them).
![]()
- In a new browser tab, Sharepoint will open.
You can now view your files directly in Microsoft Sharepoint.
- You can also read more about the functionality of Microsoft Sharepoint on their website.
Navigating Sharepoint Folders
In both Microsoft Sharepoint and the File Browser component, a breadcrumbs component allows the user to navigate to other folders within the Sharepoint directory.
A user may wish to view not just the files of this particular project, but to quickly navigate and find files in other projects without leaving the current web page. Using breadcrumbs is a fast way to achieve this.
To navigate to a different folder, the user can click on any of the previous breadcrumbs in the site by clicking their name in the breadcrumb trail.

The term "Breadcrumbs" comes from the fairytale Hansel and Gretel collected by the Brothers Grimm. In the story, the two children leave breadcrumbs behind them to find their way home. In web design, this term has come to mean a series of links that allow you to return to previous webpages that you have visited. Essentially, this type of component allows you to "retrace your steps".
Changing Folder
You may decide to change which folder stores the files for a particular item. This could be because you wish for two different items to point to the same Sharepoint folder, or there is an existing folder that you want the item to point to.
The Files Browser component allows users to change the Sharepoint folder that is attached to a Rapid item.
- Press the Change Folder button in the Command Bar
![]()
- Rapid will open a list of all the storage locations linked to your Rapid site. For instance, in this example there are two main storage locations: Internal and Marketing.

-
Select the directory.
-
Choose a sub-directory. For many simple sites, there will only be a "Documents" button here.

- Navigate through the folder directory that appears, and find the folder you wish to point the current item towards. Note: double-clicking on a folder opens it.
- Press the Select Current Folder button in the Command Bar to set the current folder view to be your new document storage folder.

This means that whatever is visible inside the File Browser component when you press Select Current Folder will be exactly the files and section of the Sharepoint directory you will see each time the item is opened.
Sharing
At the time of writing, the Share button performs identically to the Email Files button.
- You can revisit the Email Files button functionality here.
Additional File Components
Rapid Platform has several additional components that are useful for storing and manipulating files. Other useful components include: